Have you ever struggled with removing a background in Photoshop? Whether it’s removing the grid, handling a black background, or getting rid of unwanted elements, Photoshop has all the tools you need. Want to know how? Keep reading to uncover the secrets to perfect background removal!
Remove the Background of Photoshop Grid
One of the most common challenges in Photoshop is removing the grid that often appears in the workspace. Whether it’s for presentations, product images, or simply cleaning up your design, removing the grid is a crucial step to achieve a polished final image.
What is the Photoshop Grid, and Why Remove It?
The grid in Photoshop is a non-printable set of lines that serves as a visual aid for precise placement of objects, ensuring proper alignment. However, when you’re working with images, this grid can be distracting, especially when you need to create clean visuals with no background distractions.
How to Remove the Grid in Photoshop:
Here’s a simple step-by-step guide on how to remove the grid in Photoshop:
-
Open your image in Photoshop.
-
Go to the “View” menu on the top toolbar.
-
Uncheck the “Show Grid” option.
-
Alternatively, you can press Ctrl + ‘ (Windows) or Command + ‘ (Mac) to toggle the grid on and off.
By removing the grid, you allow the focus to be entirely on your object or artwork, making the background removal process smoother.
Practical Tip:
Remember that sometimes you might want to re-enable the grid if you need to maintain specific alignments. Photoshop’s flexibility lets you toggle this feature on or off depending on your needs.
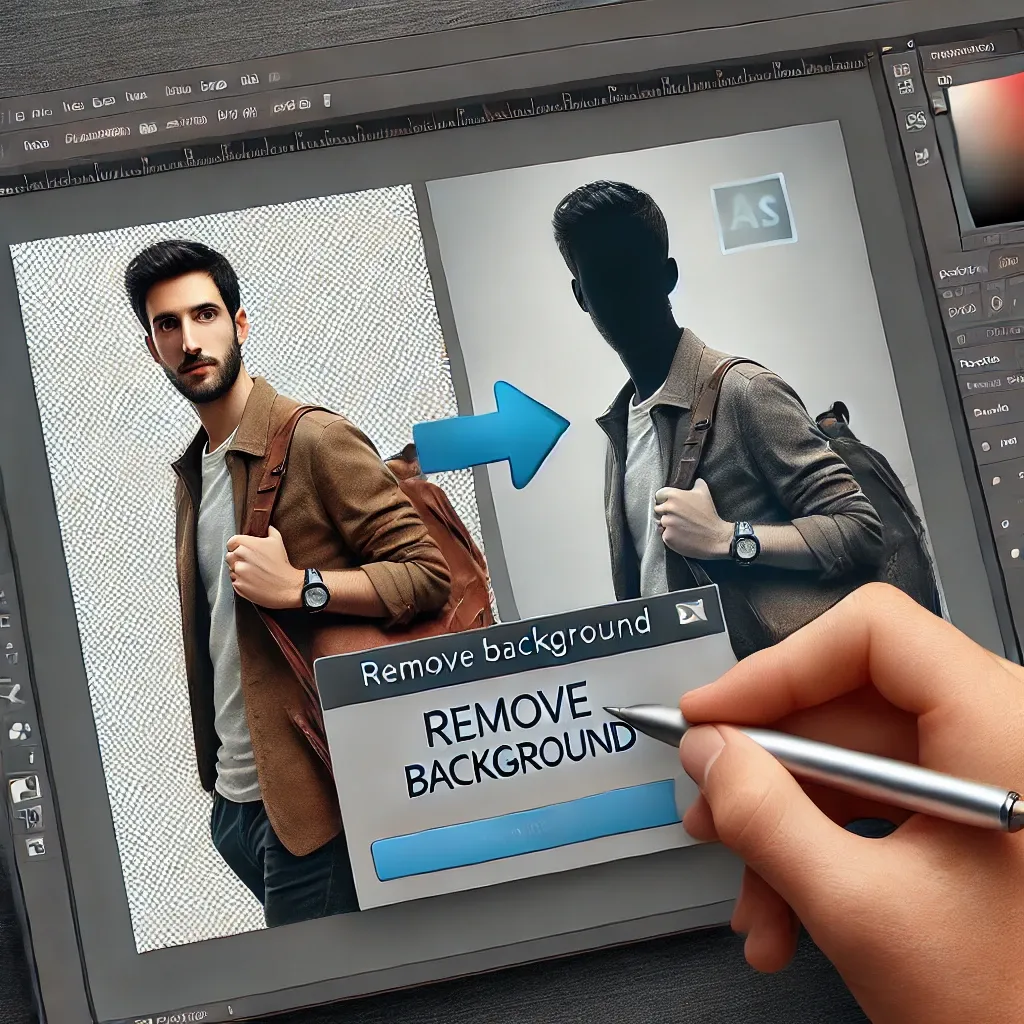
Remove the Background with Photoshop
Now that you’ve tackled the grid, let’s move on to the main event: removing backgrounds in Photoshop. Whether it’s a simple or complex image, Photoshop offers several tools to make the background removal process seamless.
The Tools You Need for Background Removal
Photoshop provides various tools that help remove backgrounds, each with specific use cases:
-
Quick Selection Tool Great for selecting and removing backgrounds with clear lines.
-
Magic Wand Tool Ideal for removing backgrounds that are a single color or have similar tones.
-
Pen Tool Best for precision when removing complex backgrounds around intricate edges.
-
Background Eraser Tool This tool allows you to erase the background while preserving the edges of the subject.
Step-by-Step Guide to Removing Backgrounds:
-
Open your image in Photoshop.
-
Choose one of the selection tools (Quick Selection or Magic Wand).
-
Click and drag over the background area to select it.
-
Once selected, hit the “Delete” key or use the “Layer Mask” option for a non-destructive method.
Removing the background is now a breeze. Whether it’s a clean white background or a more complex setup, Photoshop’s tools ensure precision and efficiency.
Expert Tip:
For images with intricate edges (like hair or fur), the “Refine Edge” feature is your best friend. It ensures that the selection is perfect, even around fine details, giving you a smoother final product.
Photoshop Black Background Removal
Sometimes, you might end up with a black background in your image, which can be a challenge to remove. Whether it’s from a photo taken with poor lighting or a result of an editing mistake, getting rid of that black background is essential.
Why Does a Black Background Happen?
A black background typically occurs when an image is poorly lit or the subject lacks proper contrast against the background. It can also happen if the photo was taken with a dark backdrop that blends into the subject.
How to Remove a Black Background:
-
Open your image in Photoshop.
-
Select the Magic Wand Tool and click on the black area of the background.
-
Adjust the tolerance of the tool to ensure that only the black area is selected.
-
Press Delete, or add a mask to remove the background.
In some cases, using the “Select Color Range” function can give you a more refined selection of the black background, ensuring only the unwanted color is removed.
Pro Tip:
If the edges of your subject look jagged after removing the black background, use the “Refine Edge” tool or smooth out the selection by adjusting the feathering.
👉 Remove Black Background Efficiently 👈
Conclusion
Removing the background in Photoshop can seem like a daunting task, but with the right tools and techniques, it becomes much simpler. Whether you’re dealing with a distracting grid, a plain black background, or any other unwanted element, Photoshop’s powerful features make it easy to get rid of them. By following these simple steps and utilizing Photoshop’s various tools, you can quickly achieve professional-quality results.
Remember, practice is key. The more you experiment with different tools like the Quick Selection Tool, Magic Wand, and Pen Tool, the better you’ll get at producing clean, polished images. So, go ahead and start removing those backgrounds!
“Design is not just what it looks like and feels like. Design is how it works.” – Steve Jobs. Let your design process flow smoothly with these Photoshop tips!