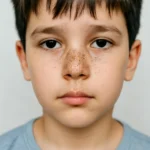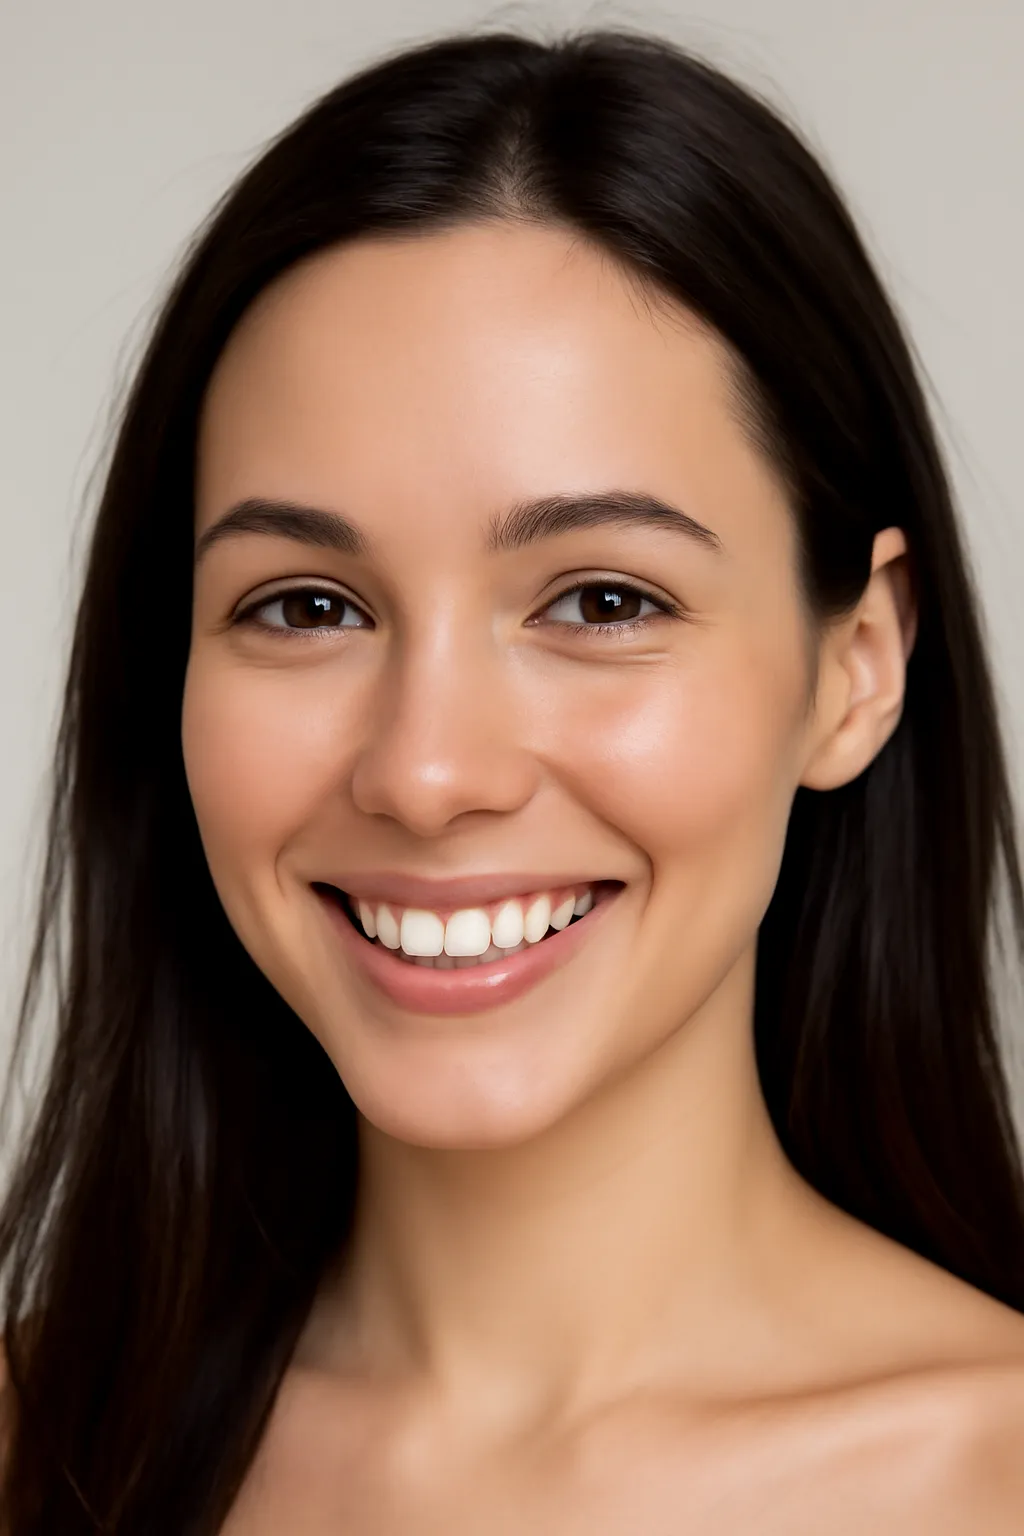
Are you struggling to achieve smooth, flawless skin in your Photoshop portraits? Learn essential skin correction techniques like tone adjustments, action usage, and powerful Photoshop filters. Ready to perfect your skills and bring out natural beauty?
Photoshop has long been a go-to tool for professionals in the photography and digital art industries. Among its myriad features, skin correction stands out as one of the most useful. Whether you’re a professional photographer or just getting into editing, knowing how to correct and enhance skin tones in Photoshop is crucial for creating stunning, natural-looking portraits. In this guide, we’ll delve into the key aspects of Photoshop skin tone correction, explore effective Photoshop skin correction actions, and show how you can refine your edits using various tools within Adobe Photoshop.
Photoshop Skin Tone Correction: The Foundation of Flawless Skin
When it comes to skin correction, Photoshop skin tone correction is often the first step. Whether you’re working on a photo shoot or editing a casual selfie, ensuring the skin tone looks smooth, natural, and even is vital. The best way to correct skin tone is through the use of advanced techniques in Photoshop, such as adjustment layers, the Hue/Saturation tool, and Curves.
1. Adjustment Layers for Tone Control
Adjustment layers are one of the most powerful tools in Photoshop for altering skin tone. These non-destructive layers allow you to tweak colors without damaging the original image. For skin tone correction, here are the most common adjustments you might use:
-
Hue/Saturation: This allows for fine-tuning the saturation and hue of specific colors in the image. Adjusting the yellows or reds can make a big difference in creating a more natural skin tone.
-
Selective Color: Another effective tool that targets specific color ranges within the image, allowing you to correct overtones and undertones in the skin.
-
Curves Adjustment: Curves help control the overall brightness and contrast of the image. You can fine-tune individual RGB channels to correct any color casts that may be affecting the skin.
By adjusting these settings, you can bring balance to the skin tones, removing any unnatural color hues such as excessive redness or greenish undertones.
2. Color Grading for Realistic Results
Color grading helps maintain the photo’s natural feel while subtly correcting any imperfections. You can use Layer Masks to apply the changes only to the skin, leaving the rest of the image untouched. For instance, adjusting the Midtones of the photo can add warmth to the skin, while fine-tuning the shadows can help bring depth to the portrait.
3. Tools and Tips for Advanced Tone Adjustment
-
Color Balance: A great tool to manipulate the overall tone of the image, including adjusting shadows, midtones, and highlights for more skin-friendly results.
-
Selective Color Adjustment: Allows precise control over individual color ranges, like red or yellow, ensuring the skin appears flawless.
By employing these methods, you can smooth out and harmonize skin tones while preserving the subject’s natural beauty.
👉Learn More about Skin Tone Adjustment in Photoshop👈
Photoshop Skin Correction Action: Boost Efficiency with One Click
Photoshop’s skin correction action feature can be a game-changer for those seeking efficiency without sacrificing quality. These pre-recorded sequences of edits can be applied with a single click, saving time while maintaining consistency across multiple images. Actions are ideal for those working with batches of photos or looking to achieve the same flawless skin effect on several portraits.
1. What is a Photoshop Skin Correction Action?
A skin correction action in Photoshop is essentially a macro that automates a series of tasks designed to improve the skin’s appearance. These actions can include:
-
Smoothing Skin: Automatically applies a layer of blur to create a soft, airbrushed effect.
-
Tone Correction: Adjusts the skin’s color balance for a more even, natural tone.
-
Detail Enhancements: Focuses on accentuating skin texture to maintain the photo’s natural feel, rather than over-smoothing.
Once you apply an action, Photoshop automatically runs the steps recorded in the action file. For professional photographers or anyone looking to save time, this is an excellent tool.
2. How to Create Your Own Skin Correction Action
Creating your own skin correction action can allow for even more personalized edits. Here’s how you can create a simple one:
-
Step 1: Open a photo and adjust the skin tone using the techniques we discussed (e.g., Hue/Saturation).
-
Step 2: Add skin smoothing via the Gaussian Blur or High Pass method (discussed in the next section).
-
Step 3: Save the steps as an action by navigating to Window > Actions and clicking the new action button. Once you’ve saved your steps, you can apply them to future images.
This method not only improves efficiency but also ensures that your skin correction process remains consistent across multiple images, especially for portfolio work.
3. Where to Find Skin Correction Actions
If you don’t want to create your own, there are plenty of high-quality skin correction actions available online. Many photographers offer these actions for free or for a small fee, which are often tailored to particular skin types or effects.
👉Explore Top Photoshop Skin Correction Actions👈
Adobe Photoshop Skin Correction Filters: Perfecting Every Pixel
Another powerful tool in Photoshop’s arsenal is the skin correction filter. These filters are designed to help refine the skin without the need for intricate hand-editing. Whether you want to smooth out blemishes, correct uneven skin tones, or simply give your subject a glow, filters can be an essential part of your skin correction process.
1. Gaussian Blur for Skin Smoothing
The Gaussian Blur filter is a classic Photoshop method for achieving smoother skin. By applying this effect to a separate layer and using a Layer Mask, you can apply a soft, blurred effect only to the skin, leaving the eyes, hair, and other details intact. This technique is especially useful for portraits where the skin needs to be softened but you don’t want to sacrifice detail in other areas.
2. High Pass Filter for Sharpness and Smoothness
A less commonly known but highly effective technique is the High Pass Filter, often used in skin correction to add sharpness to key areas (like the eyes) while smoothing out the skin. By duplicating the layer, applying the High Pass filter, and setting the layer to Overlay or Soft Light, you can enhance the overall texture and smoothness without losing the natural skin grain.
3. Advanced Filters for Skin Perfection
If you’re after a more polished look, Adobe Camera Raw filters can also be used within Photoshop to correct skin tones and texture. These filters allow you to adjust shadows, highlights, and even clarity, which can be particularly useful for fixing uneven skin textures. You can also experiment with the Skin Smoothing slider available in Photoshop’s Portrait Mode to automatically reduce imperfections.
By incorporating these filters, you can speed up the process of skin correction and achieve polished, professional results.
👉Discover Advanced Photoshop Skin Filters👈
Conclusion
Mastering Photoshop skin correction is a fundamental skill for anyone working with portraits or looking to enhance their photos. Whether you’re using skin tone correction, skin correction actions, or advanced skin correction filters, each tool has a distinct role in helping you achieve flawless, natural-looking skin. The beauty of Photoshop lies in the ability to adjust and refine the image until it meets your vision, and with the tips shared here, you’re well on your way to perfecting your editing skills.
Remember, practice makes perfect! Keep experimenting with the various techniques, and soon you’ll find your own signature skin correction style that elevates your work to the next level.