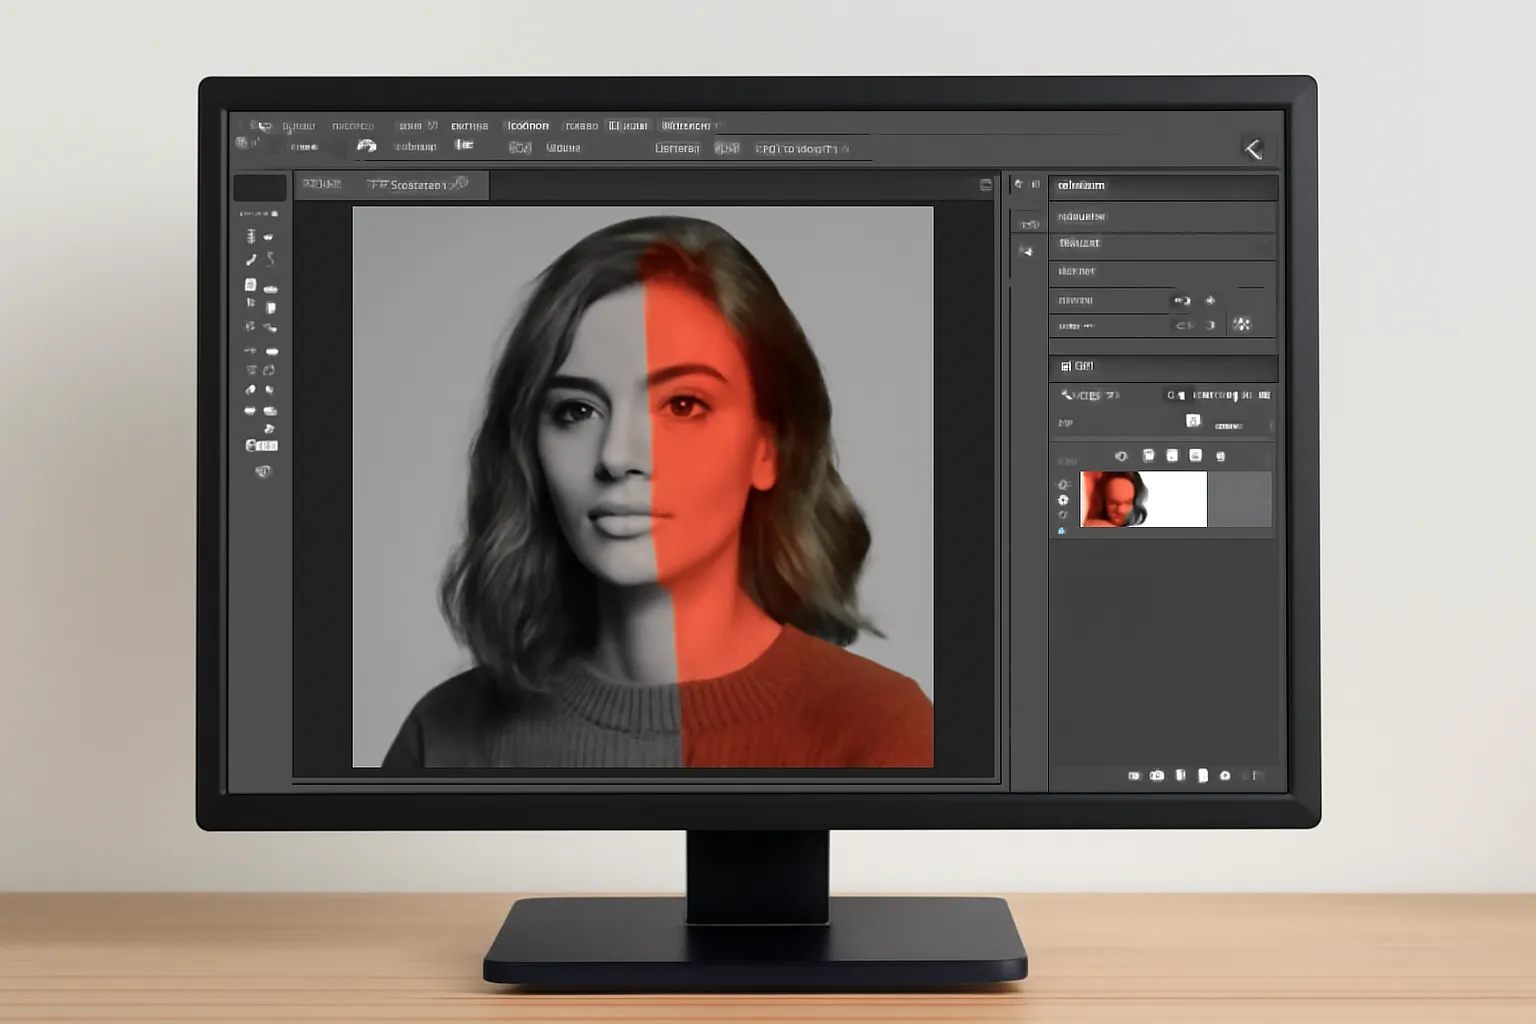
A Photoshop mask is one of the most powerful tools in Adobe Photoshop, offering you incredible control over image editing. Whether you’re looking to selectively adjust parts of your image, hide or reveal layers, or simply create effects, mastering the use of Photoshop masks is essential. In this article, we will explore how to create, use, and modify Photoshop masks, as well as tackle common issues such as applying, reversing, and removing them.
Are you ready to unlock the full potential of Photoshop masks? Learn how to copy, apply, and modify masks, and discover useful shortcuts to streamline your editing workflow.
Photoshop Mask Copy: A Key Technique for Layered Editing
One of the most important aspects of working with Photoshop masks is understanding how to duplicate or copy a mask. Copying a mask allows you to apply the same mask effect to other layers, making it easy to maintain consistency across your project.
Why You Should Copy Photoshop Masks
When working with complex compositions, it’s often necessary to apply the same mask effect across multiple layers. Instead of manually recreating a mask for each new layer, copying a mask saves you time and effort.
For example, imagine you’re editing an image with several objects that need similar adjustments. By copying and applying the mask from one layer to another, you can quickly maintain the same level of detail and refinement without starting from scratch.
How to Copy a Photoshop Mask
To copy a mask in Photoshop:
-
Select the Layer that has the mask you want to copy.
-
Right-click on the mask thumbnail in the Layers panel.
-
Choose “Add Mask” while holding the Alt/Option key. This will duplicate the mask to a new layer.
By following these steps, you can easily copy a mask and apply it to other layers within your composition. The same technique works for applying a mask to duplicate layers or creating multiple instances of an effect.
Want to learn more about the versatility of Photoshop masks? Check out this article for advanced techniques!
Practical Example:
A photographer editing a group portrait may want to adjust the brightness of all the faces uniformly without altering the background. By copying the mask from one face and applying it to the others, they can maintain consistent lighting across the image.
Photoshop Mask Application: Essential for Precision Editing
Applying a Photoshop mask is key to achieving the highest quality results in your photo manipulations. Masks allow you to hide or reveal parts of a layer non-destructively, making them an essential tool for precision editing.
What Does Applying a Mask Do?
When you apply a mask in Photoshop, you’re essentially creating a selective edit. By painting on the mask with black or white, you can hide or reveal areas of your image or layer, respectively. This gives you the flexibility to make changes to specific areas without affecting the rest of the image.
For example, when editing a portrait, you might want to smooth skin tones without affecting the eyes or hair. A mask allows you to paint over only the areas of the skin while keeping the eyes and hair intact.
How to Apply a Mask in Photoshop
-
Select the layer to which you want to apply the mask.
-
Click the Add Layer Mask button at the bottom of the Layers panel.
-
With the mask selected, use the Brush Tool to paint over areas you wish to hide or reveal. Remember, painting with black hides, and white reveals.
By applying masks creatively, you can apply precise adjustments to different areas of an image, leading to professional-level results.
Real-World Example:
When retouching a landscape photo, you can apply a mask to brighten up the sky without affecting the terrain. This allows you to create stunning natural-looking transitions between the foreground and the background.
Need a deeper dive into applying masks effectively in your projects? Explore further by clicking the link below:
Photoshop Mask Reversal: How to Switch Between Visibility States
Sometimes, you might need to reverse the visibility of a mask, especially when you’re adjusting an image and want to quickly see how your edits look before and after the mask is applied.
Why Reverse a Photoshop Mask?
Reversing a mask can be incredibly useful when you want to quickly switch between visible and hidden areas of your image. For instance, if you’ve been editing the background of an image and want to check how the subject looks without the mask, simply reversing the mask can provide an instant comparison.
How to Reverse a Photoshop Mask
Reversing a mask in Photoshop is simple:
-
Select the layer with the mask.
-
Hold the Ctrl (Cmd) key and click the mask thumbnail to select it.
-
With the mask selected, press Ctrl+I (Cmd+I) to invert it. This will swap the black and white areas, effectively reversing the mask.
This shortcut is a quick and effective way to change your mask’s visibility and can be used in a variety of situations, whether you need to make a dramatic change or check the before and after of your edits.
Practical Example:
Consider working with a design project where you’re adding a vignette effect to the edges of a photo. If you accidentally apply the effect to the center, you can easily reverse the mask to correct the positioning.
Explore more advanced mask techniques and become a Photoshop master:
Conclusion
Mastering Photoshop masks opens up endless possibilities for your creative editing process. From copying and applying masks to reversing them for precision adjustments, these techniques are essential for anyone looking to take their Photoshop skills to the next level. Understanding how to work with masks allows you to have total control over your image edits, ensuring that every change is made with precision and clarity.
As with all tools in Photoshop, practice is key. Spend time experimenting with masks on different projects, and you’ll soon see how they can transform your work. The more comfortable you become with these techniques, the faster and more efficiently you’ll be able to create stunning images. Happy editing!


