Are you struggling with the Photoshop eraser tool? Learn how to adjust the size, color, and transparency settings, and troubleshoot issues like the eraser disappearing in this guide. Discover everything you need to enhance your editing experience.
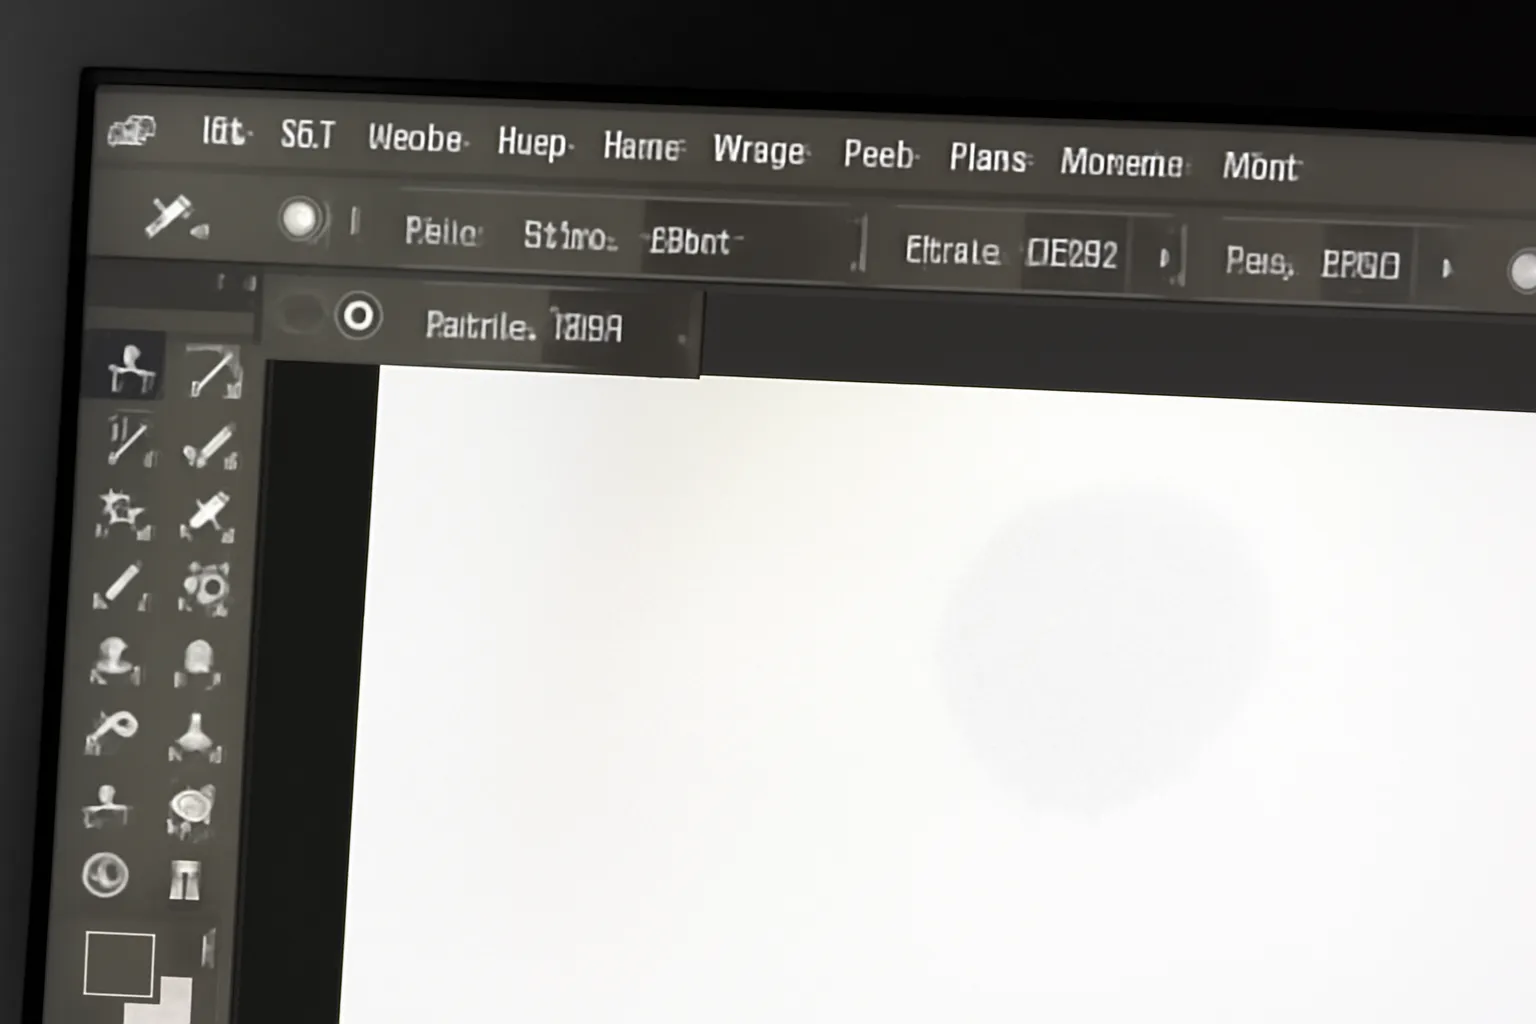
Photoshop, the renowned image editing software, offers a variety of tools to help users create, manipulate, and perfect digital images. One of the most useful tools in Photoshop’s arsenal is the Eraser tool, which allows users to remove portions of their artwork with precision. In this guide, we will explore the different aspects of the Photoshop Eraser tool, including its shape, color, transparency, size adjustments, and troubleshooting common issues. Whether you’re a beginner or a seasoned Photoshop user, understanding how to effectively use the Eraser tool can significantly improve your workflow.
Photoshop Eraser Shape: Customizing Your Brush for Precision
When using the Eraser tool, the shape of the brush plays a vital role in determining how precise and effective your erasing is. Photoshop provides users with the ability to adjust the shape of the eraser brush to suit their needs. By default, the Eraser tool often uses a round, soft-edged brush, but you can switch to a variety of shapes to match the task at hand.
Types of Eraser Brushes
-
Round Brush Ideal for soft and smooth erasing, this brush is the go-to option for most editing tasks.
-
Square Brush Perfect for sharp, precise cuts, such as when you want to erase a specific corner or edge.
-
Custom Brushes Photoshop allows you to create or import custom brushes. This means you can create any shape you desire, whether it’s a jagged edge or a star-shaped cutout.
-
Soft and Hard Edges The softness of the brush’s edge can be adjusted. A soft edge allows for gradual fading, while a hard edge offers a more defined and abrupt erasure.
When to Use Specific Shapes
-
Round Brush When working with portraits or soft textures, the round brush provides smooth, natural results.
-
Square Brush Best for geometric designs or precise image editing where straight lines are required.
-
Custom Brushes For unique, artistic effects, such as creating eraser patterns or textures that match the style of your project.
Adjusting the Eraser Shape
To change the shape of the Eraser brush, simply go to the brush settings panel in Photoshop. From there, you can choose between different brush presets or tweak the hardness, spacing, and roundness of the brush. For more advanced users, you can even create your own custom brushes that are tailored specifically to your design.
👉 Learn More About Photoshop Brush Settings 👈
Photoshop Eraser Color: Changing the Color of Your Erased Area
In Photoshop, the color of the Eraser tool isn’t always just about what’s erased from the image. The tool can be customized to erase specific colors or work with transparency. This is particularly useful for complex layers and graphics, where the Eraser tool interacts with multiple color schemes.
Understanding Color Settings in the Eraser Tool
The color of the erased area depends on whether you are working with a colored background or transparent pixels. Photoshop provides a variety of options for color-related adjustments:
-
Erase to Background Color This option allows you to erase content and replace it with the current background color.
-
Erase with Transparency When erasing on a transparent layer, Photoshop will remove the pixels entirely, leaving behind transparency (a checkerboard pattern).
-
Erase to White or Black You can choose to erase with a solid color, such as white or black, to replace the erased portion.
Why Color Matters
-
Transparency When working with logos, images with transparent backgrounds, or layers, you often want the erased section to be transparent. This is where the “Erase to Transparency” option shines.
-
Color Precision If you’re working on a digital painting or detailed design, erasing with a particular color ensures that the erased area blends seamlessly with the rest of the image.
By understanding how to use the Eraser tool in conjunction with color settings, you can better manage complex compositions and layers. Whether you’re making background changes or working with detailed designs, mastering the color aspect of the Eraser tool is essential.
👉 Explore Photoshop Color Settings in Depth 👈
Photoshop Eraser Size: Fine-Tuning Your Tool for Better Precision
The size of the Eraser tool is crucial for achieving the desired result, whether you’re erasing a small detail or clearing a large portion of your image. The ability to adjust the Eraser’s size ensures that your work remains precise and tailored to your project.
Adjusting the Size of the Eraser Tool
-
Shortcut Keys Use the square brackets
[ ]to quickly adjust the size of the Eraser brush. The left bracket reduces the size, while the right bracket increases it. -
Brush Settings Go to the Brush settings panel to adjust the size, hardness, and spacing of the Eraser tool. Here, you can enter specific values for the brush diameter.
-
Pressure Sensitivity If you’re using a tablet, the pressure sensitivity allows you to adjust the size dynamically based on how hard you press.
When to Adjust the Eraser Size
-
Small Size Use a smaller Eraser size when dealing with intricate details, such as refining edges, erasing small areas of color, or cleaning up text.
-
Large Size A larger Eraser size is ideal for erasing large areas of the image, such as backgrounds or wide spaces in a design.
-
Medium Size For most editing tasks, a medium-sized Eraser will offer the right balance between precision and coverage.
Tips for Fine-Tuning the Eraser Size
For more control, consider adjusting the Eraser size based on the area you’re working on. For example, when erasing large textures or creating gradients, a larger Eraser with soft edges can create a smooth fade. On the other hand, a small, hard-edged Eraser is perfect for erasing sharp lines or fine details.
👉 Master Photoshop Size Adjustments Here 👈
Conclusion
The Photoshop Eraser tool is an indispensable part of any designer’s toolkit. By mastering the settings such as the brush shape, color, and size, you can elevate your editing to a new level of precision and creativity. Whether you’re erasing pixels for transparency or adjusting the size for finer details, knowing how to tweak these settings ensures that your workflow remains smooth and efficient.
Remember, the more comfortable you become with these settings, the more creative freedom you’ll have in your projects. Whether you’re working on detailed digital art, retouching photos, or creating intricate designs, the Photoshop Eraser tool will continue to be a key element in your creative process.