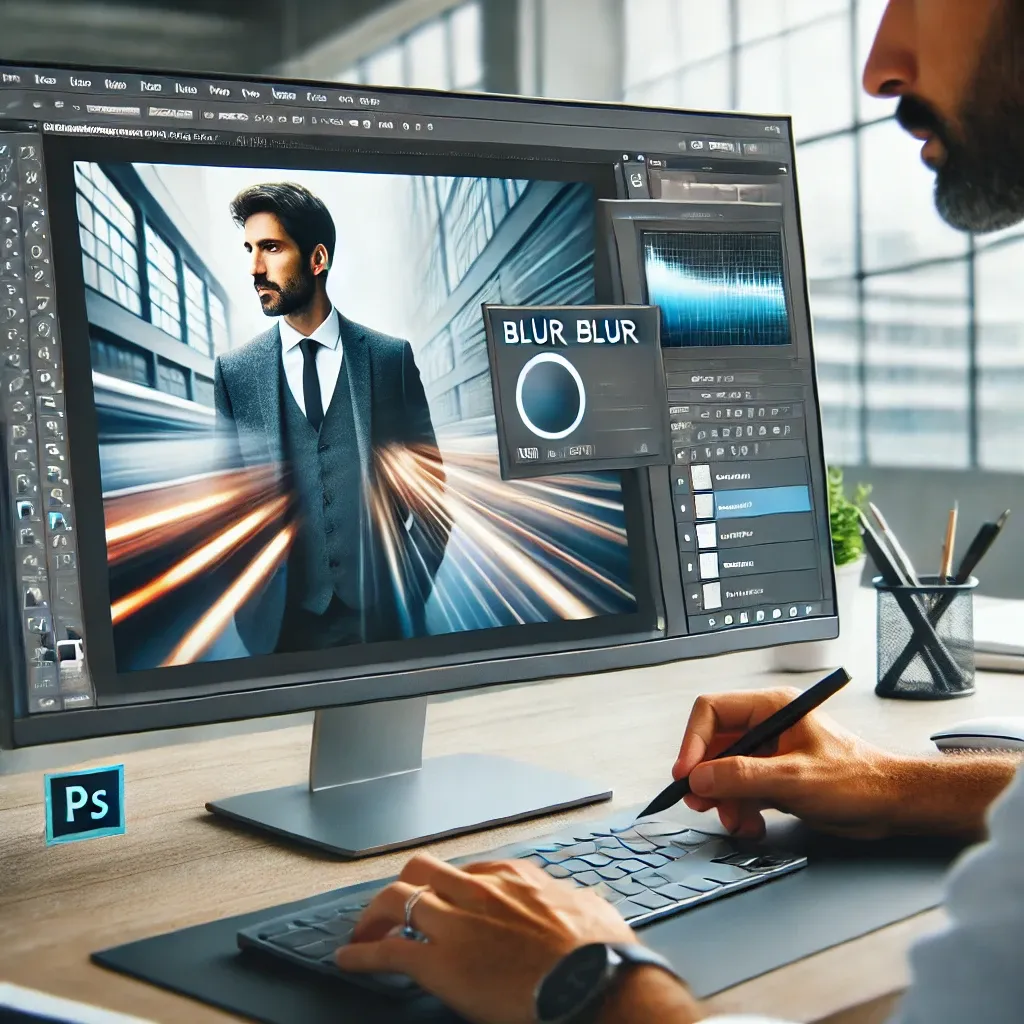
Wondering how to use Photoshop Blur to enhance your designs? Learn about different Photoshop blur types, how to process them effectively, and tips to create stunning visuals with this tool.
Photoshop has long been one of the most popular tools for designers and photographers. Among its many features, one of the most versatile and widely used tools is the blur function. The blur tool allows users to soften or blend areas of an image, creating depth, focus, and various artistic effects. Whether you’re a seasoned Photoshop user or just getting started, understanding how to use blur effectively is essential to creating beautiful designs.
In this article, we’ll dive into three important aspects of Photoshop Blur: the different types of blur, how to process them, and tips for using the Photoshop Blur Brush for more control and creativity.
Photoshop Blur Types
When you think about blur in Photoshop, the first thing that might come to mind is the Gaussian Blur, which is a go-to for many designers. However, Photoshop offers a variety of blur types, each with unique features and applications. Here are some of the most common types:
-
Gaussian Blur The most popular blur type, it softens the image evenly in all directions.
-
Motion Blur Creates the illusion of movement, making it perfect for simulating speed or direction.
-
Lens Blur Mimics the natural blur found in real-life camera lenses, perfect for creating realistic depth of field.
-
Box Blur A simple blur that applies an equal blur to all pixels in the selection, giving a more uniform look.
-
Radial Blur Offers a blur effect that radiates outward, simulating spinning or zooming effects.
-
Surface Blur Targets areas with contrasting colors and smooths them, without affecting fine details as much as Gaussian Blur.
-
Smart Blur A high-quality blur that provides more control over edge details, especially for portraits.
Why use different types of blur? Understanding which blur to use is key to achieving specific effects. For instance, Motion Blur is excellent for action shots, while Gaussian Blur is a classic choice for softening edges in portraits or landscapes.
👉 Learn more about Photoshop Blur Types 👈
Photoshop Blur Processing
Now that you know the different blur types, it’s time to learn how to process them in Photoshop. The process can vary depending on the blur you choose, but here’s a general guide to getting started with applying a blur effect:
-
Select the Area Start by selecting the area you want to apply the blur to. You can use any of the selection tools like the Lasso Tool, Marquee Tool, or Quick Selection Tool.
-
Access the Blur Options Go to the top menu and click on Filter > Blur. From there, you’ll see various blur options like Gaussian Blur, Motion Blur, etc.
-
Adjust the Intensity Each blur type has its own settings. For example, in Gaussian Blur, you can adjust the Radius slider to control the amount of blur. For Motion Blur, you can control the angle and distance of the blur.
-
Preview the Effect Always preview the effect by toggling the Preview checkbox. This ensures that you’re getting the desired result before finalizing it.
-
Refine Your Blur If needed, use Layer Masks to fine-tune the blur effect and create a more natural transition between the blurred and sharp areas.
Tip for Precision If you want to apply the blur to specific areas of an image without affecting others, try using a Layer Mask. This gives you more control, allowing you to hide or reveal blur in selected parts of the image.
👉 Learn how to process blur in Photoshop 👈
Photoshop Blur Brush
For those who want even more creative freedom, Photoshop offers the Blur Brush tool. The Blur Brush allows you to paint the blur effect onto specific areas of your image, giving you ultimate control over where and how much blur is applied.
Here’s how to use the Blur Brush effectively:
-
Select the Blur Tool In the toolbar, click on the Blur Tool, or press the R key to switch to it.
-
Adjust the Brush Settings The size, hardness, and strength of the brush can be customized. Use the settings bar at the top of the screen to adjust these parameters.
-
Start Painting Click and drag over the areas of the image you wish to blur. The longer you paint, the stronger the blur will become.
-
Use with Layer Masks For precise control, use a layer mask to paint on the blur in specific areas without affecting the entire image.
Bonus Tip To achieve a subtle blur effect, try lowering the strength of the Blur Brush. A lower strength will allow you to gradually build up the blur, offering more control over the final result.
👉 Master Photoshop Blur Brush technique 👈
Conclusion
The Photoshop Blur tool is an essential feature for any designer or photographer. Whether you’re using it for softening an image, simulating motion, or creating depth, understanding the various blur types and processing methods can greatly enhance your design skills. From Gaussian Blur to the Blur Brush, mastering these tools will allow you to produce beautiful, professional-quality work. Experiment with different types, process them to suit your needs, and use the Blur Brush for precision and creativity.
As you continue to explore Photoshop, remember that the blur function isn’t just about softening images—it’s a powerful tool that can elevate the storytelling aspect of your visuals.


