Curious about how to use Photoshop blur to create stunning effects? Learn about different blur types, techniques, and tools to remove or apply blur with precision.
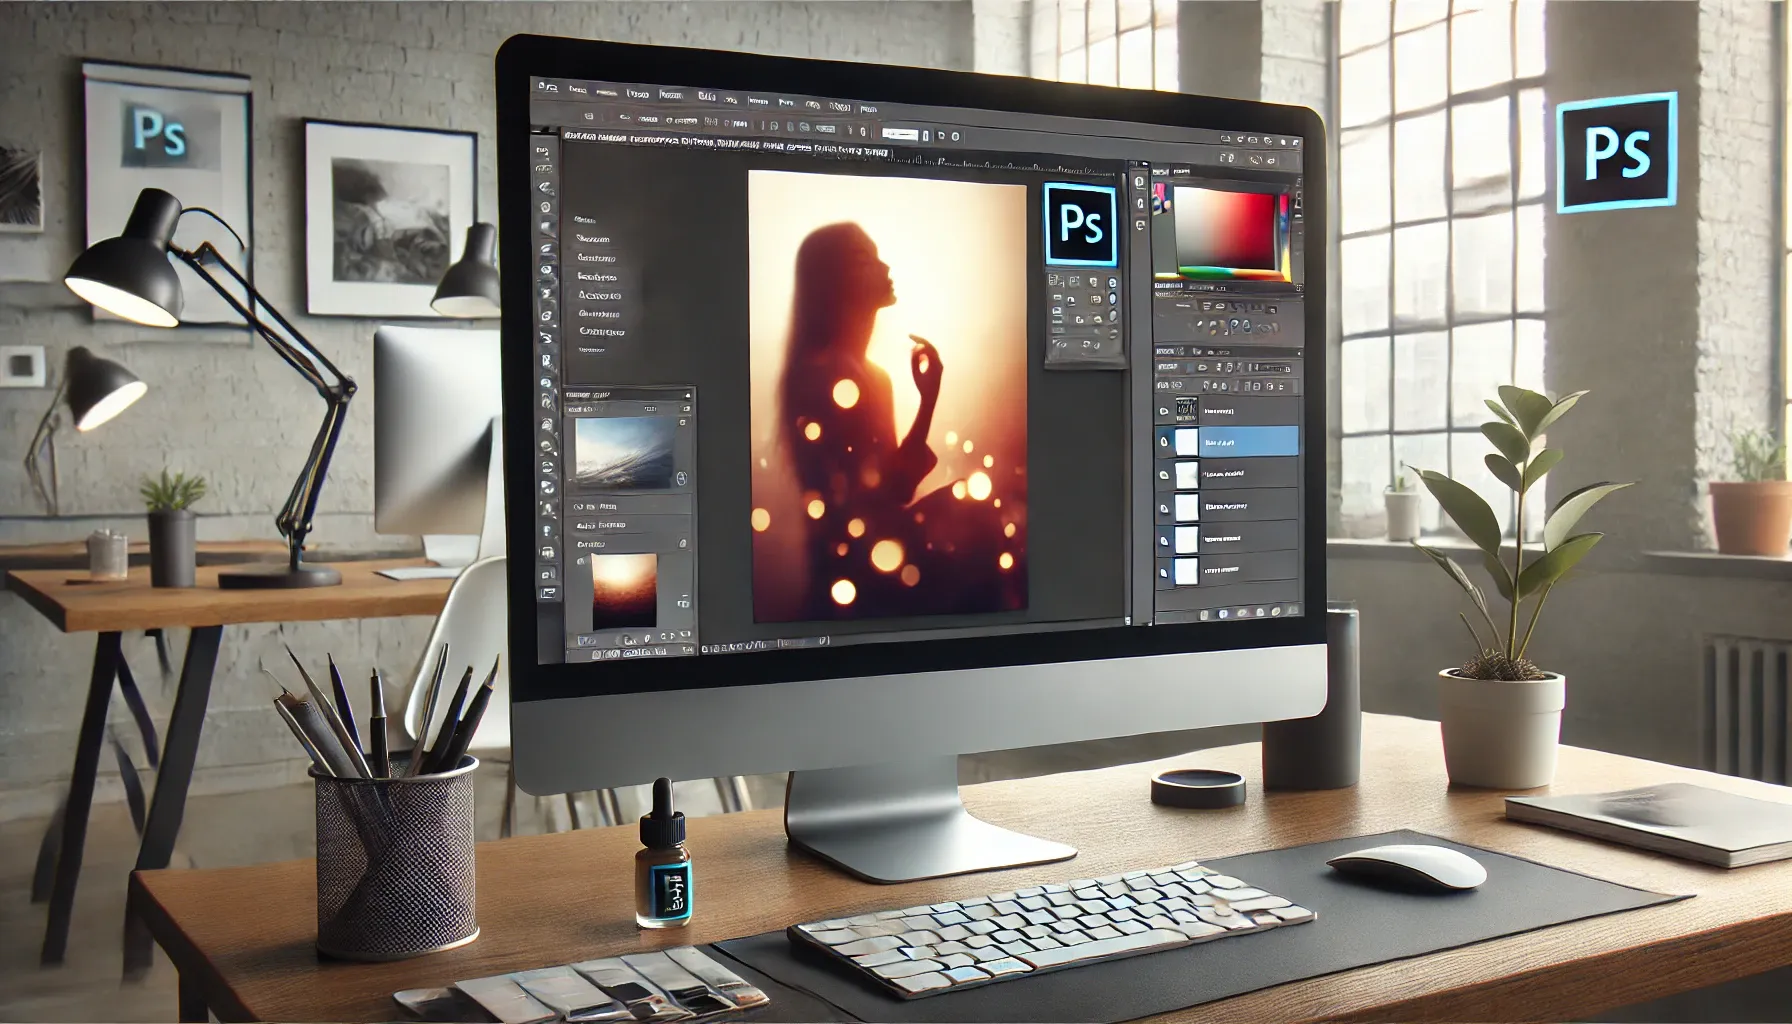
In the world of digital photo editing, Photoshop blur is one of the most versatile and powerful tools. Whether you are trying to soften an image, create a sense of depth, or apply a dreamy effect, mastering the blur tool in Photoshop can completely elevate your work.
1. Understanding Photoshop Blur Types
Photoshop offers various blur types, each with its own unique characteristics and applications. Here’s a rundown of the most commonly used blur types and their practical uses:
1. Gaussian Blur
The most popular blur in Photoshop, Gaussian blur, softens an image by evenly blurring the pixels. It is great for:
-
Smoothing skin in portrait photography.
-
Reducing noise or grain in images.
-
Creating subtle background effects.
2. Motion Blur
This blur simulates the effect of fast movement by creating streaks of blur. It’s useful for:
-
Adding dynamic motion to still images.
-
Mimicking the effect of a moving object or subject.
-
Creating a sense of speed or urgency in compositions.
3. Lens Blur
This blur replicates the out-of-focus areas seen in camera lenses, mimicking a shallow depth of field. It’s perfect for:
-
Bokeh effects (the blurred areas of an image).
-
Simulating realistic focus transitions in photography.
-
Enhancing portraits by blurring the background while keeping the subject sharp.
4. Radial Blur
A unique blur type that can create a zoom effect or motion blur that radiates out from a central point. It’s great for:
-
Creating the illusion of movement or rotation.
-
Adding focus to a central subject while blurring everything around it.
5. Field Blur
Field blur is a newer feature that uses a gradient-based blur, allowing for localized blur adjustments across the image. It’s ideal for:
-
Creating a miniature effect (also known as tilt-shift photography).
-
Mimicking the way a camera lens naturally blurs parts of an image while focusing on specific areas.
Each of these blur types has its strengths, and knowing when to use each one can make a huge difference in the overall aesthetic of your project.
Learn More About Photoshop Blur Types 👉
2. Using the Photoshop Blur Tool Effectively
To master Photoshop blur processing, you need to become comfortable using the blur tool. The Blur Tool in Photoshop is a brush-based tool that can be used to selectively blur parts of an image. It’s perfect for softening specific areas without affecting the entire image. Here’s how to use it:
Step 1: Select the Blur Tool
To use the blur tool, follow these simple steps:
-
Open your image in Photoshop.
-
Select the Blur Tool from the toolbar or press R to activate it.
-
Choose the appropriate brush size and strength from the top menu bar.
-
Click and drag over the areas you want to blur.
Step 2: Adjusting the Strength of the Blur
The strength of the blur can be adjusted by changing the brush strength in the top menu. A lower strength will apply a subtle blur, while higher strength will result in a more intense effect. This tool is especially useful when you need to blur only parts of the image and maintain sharpness in others.
Step 3: Use a Layer Mask for Non-Destructive Editing
When using the blur tool, you may want to use a layer mask to make the effect non-destructive. This way, you can easily remove or adjust the blur later without altering the original image. Simply:
-
Add a new layer mask to your image.
-
Use the brush tool with black to hide blur and white to reveal it.
Learn How to Use the Blur Tool in Photoshop 👉
3. Photoshop Blur: Removing Unwanted Blur
Sometimes, the blur effect might go overboard, or you may want to reverse or refine the effect. Here’s how you can remove Photoshop blur or minimize its impact:
1. Use the History Brush Tool
The History Brush Tool allows you to paint over areas of the image that were previously not blurred. To use it:
-
Open the History panel (Window > History).
-
Select the History Brush Tool.
-
Paint over areas where you want to restore the sharpness or remove unwanted blur.
2. Applying the Sharpening Tool
Photoshop provides several tools to sharpen an image after it has been blurred:
-
Unsharp Mask A classic method for sharpening images.
-
Smart Sharpen Allows you to control the amount of sharpening applied to specific areas of an image.
3. Refining with the Layer Mask
If you applied blur destructively (directly to the image layer), a layer mask can help you erase or soften the blur selectively. Simply:
-
Select the mask in the layers panel.
-
Use a soft brush with low opacity to erase the blur from areas where it is too intense.
Learn How to Remove Blur in Photoshop 👉
Conclusion
The Photoshop blur tool is a powerful and versatile tool that can transform your images, whether you’re softening skin, creating motion effects, or adding an artistic touch. By understanding the different types of blur and how to use them effectively, you can take full control over your photo editing process. Experiment with various blur effects, refine them with layer masks, and don’t forget to use the history and sharpening tools to fix any unwanted blur.
Photoshop blur might seem simple at first, but with the right knowledge and practice, it can become an essential technique in your editing toolkit. Ready to dive deeper? Explore more tutorials and sharpen your skills today!