Curious about Photoshop noodles white removal, Nui copy, or background removal? Learn the secrets to these powerful Photoshop techniques that can elevate your editing skills. Ready to master the art of Photoshop? Keep reading!
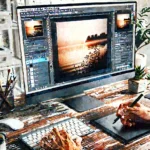
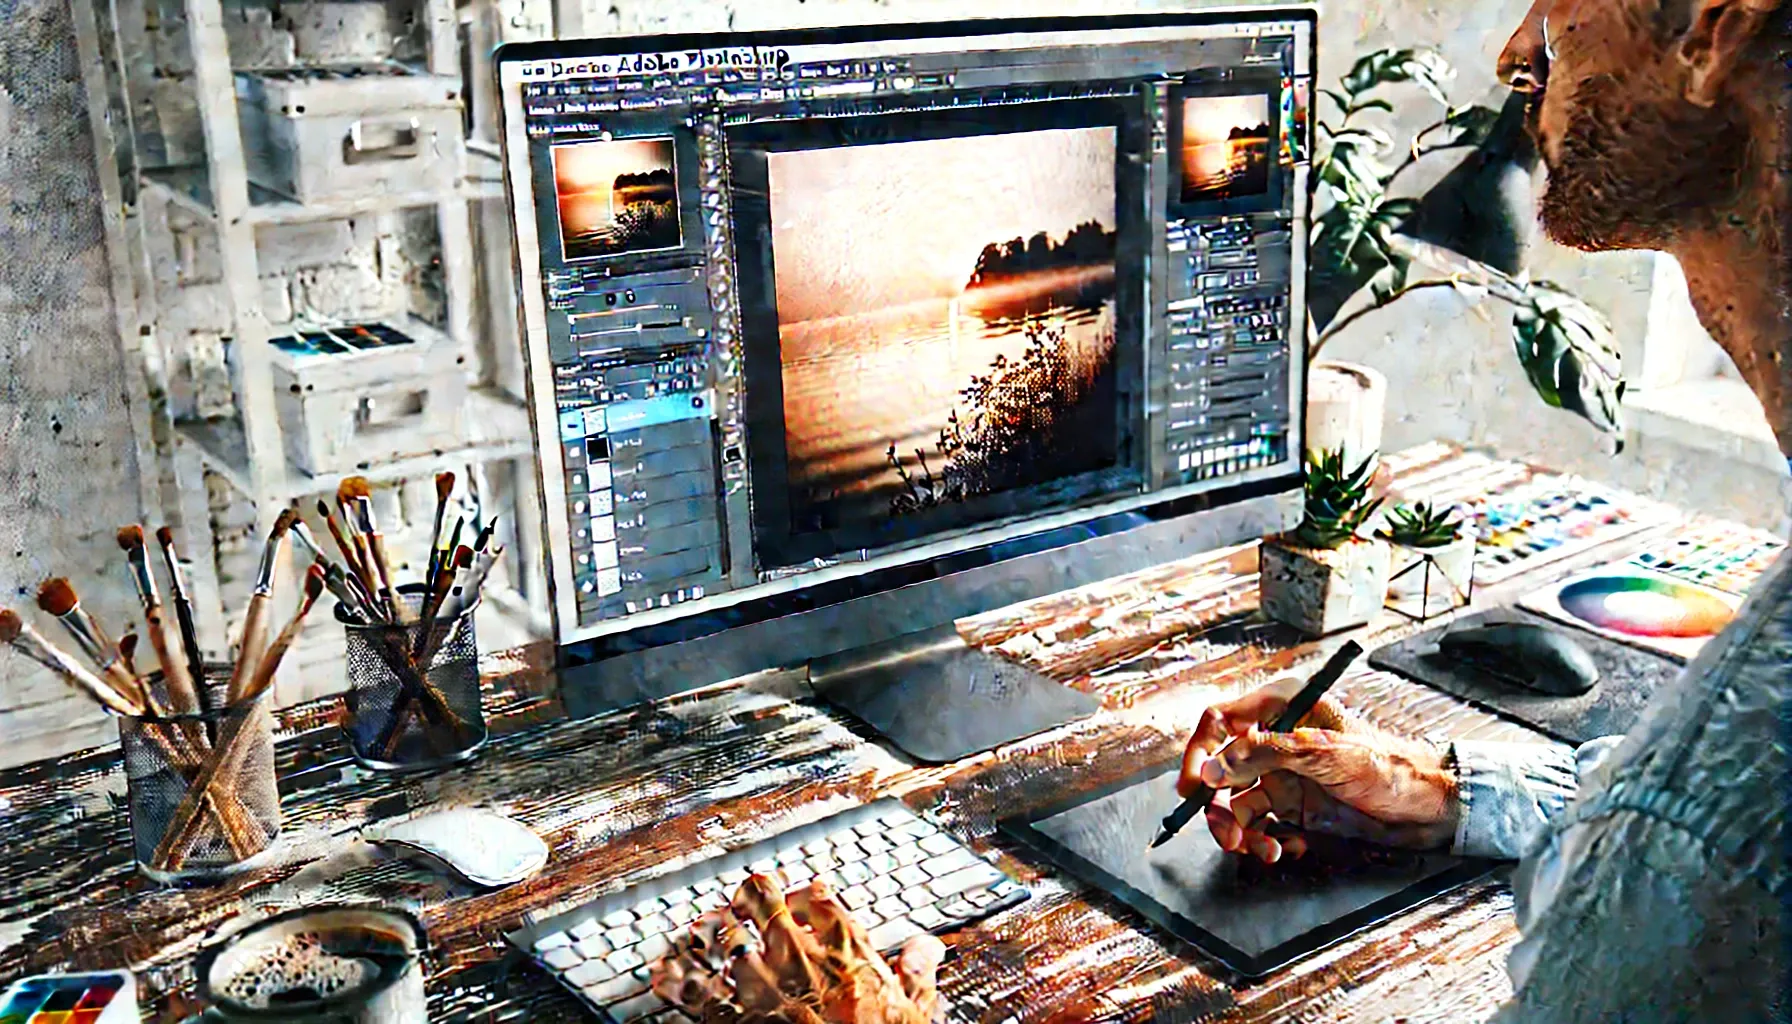
Adobe Photoshop is a powerhouse for digital designers, photographers, and artists, offering a wide array of tools that allow users to manipulate images in ways that were once only possible in the realm of fantasy. Whether you’re trying to remove a pesky white background from noodles or looking to perform complex editing techniques, Photoshop has something for everyone. In this article, we will explore three specific areas within Photoshop: Photoshop noodles white removal, Photoshop Nui Copy, and Photoshop background removal. Understanding these features will help you streamline your workflow and elevate the quality of your work.
Photoshop Noodles White Removal: The Secret to Clean Edits
Photoshop noodles white removal might sound a bit odd at first, but it’s a crucial skill, especially for food photographers or anyone working with images that involve a lot of textures like pasta, noodles, or other food items. This technique involves removing unwanted white backgrounds or areas that can distract from the main subject of the image.
Why Remove White from Noodles in Photoshop?
When photographing food, the background often creates unnecessary noise. Removing a white background from images like noodles allows the food to stand out more prominently, creating a clean and professional-looking image. Here are some steps to perform this task effectively:
-
Open the Image Start by opening the image you want to edit in Photoshop.
-
Select the Noodle Area Use the Quick Selection Tool or the Magic Wand Tool to select the noodle or pasta area you wish to keep. Adjust the tolerance levels for more precise selection.
-
Remove the White Background After selecting the noodles, you can delete the white areas using the Refine Edge feature. This helps soften the edges of the noodles and ensures a clean removal without jagged lines.
-
Fine-tune the Image If there are any residual white pixels left behind, use the Eraser Tool or a soft brush to clean them up.
-
Save the File Once you’re satisfied with the result, save your file as a PNG to maintain transparency.
This technique is simple but extremely effective for anyone looking to elevate food photography or create professional product shots.
👉 Learn more about advanced Photoshop techniques 👈
Photoshop Nui Copy: Simplifying Image Cloning
Another useful tool in Photoshop’s suite of capabilities is Photoshop Nui Copy. While this term may sound a bit technical, it refers to cloning or copying parts of an image and pasting them elsewhere, often used to replicate patterns or textures seamlessly.
What is Nui Copy?
Photoshop Nui Copy is a reference to the Clone Stamp Tool, which allows users to duplicate specific sections of an image with high precision. This can be useful in tasks like retouching, background editing, or duplicating elements within an image. Here’s how to use it:
-
Select the Clone Stamp Tool Activate the Clone Stamp Tool from the toolbar or press the “S” key.
-
Choose a Source Area Hold down the Alt key (Windows) or Option key (Mac) and click on the area you want to clone from.
-
Apply the Copy Move your cursor to the area where you want to duplicate the pixels and start brushing. Adjust the brush size and hardness for better control.
-
Blend the Edges Make sure to adjust the opacity and flow settings to create a smooth transition between the cloned area and the rest of the image.
Nui Copy is invaluable when it comes to tasks like removing blemishes, fixing damaged areas of an image, or even creating complex artistic effects.
👉 Discover advanced cloning techniques in Photoshop 👈
Photoshop Background Removal: A Game Changer for Clean Designs
Background removal is one of the most essential features in Photoshop. Whether you’re working on product photography or digital art, eliminating backgrounds can make your subject pop and provide a cleaner, more professional look.
How to Remove Backgrounds in Photoshop?
Removing backgrounds might seem like a complex task, but Photoshop’s robust tools make it easier than ever. Here’s how you can remove a background effectively:
-
Select the Subject Use the Quick Selection Tool or Select Subject feature under the Select menu. Photoshop’s AI-driven tool can automatically identify the subject in the image and create a selection around it.
-
Refine the Selection Once the subject is selected, use the Refine Edge tool to adjust the edges. This is especially helpful if your subject has hair or other fine details that need smoothing out.
-
Remove the Background With the background selected, press Delete or use a layer mask to hide the background. This leaves your subject standing out on a transparent or solid-color background.
-
Fine-tune and Save If there are any areas where the selection didn’t work perfectly, you can manually use the Brush Tool on the layer mask to clean up the edges. Once finished, save your image as a PNG or TIFF to preserve transparency.
This simple process can dramatically improve the look of your images, especially for e-commerce sites or marketing materials where clean visuals are crucial.
👉 Explore more about background removal in Photoshop 👈
Conclusion
Adobe Photoshop remains one of the most powerful image-editing tools available, offering countless features that can help you take your design projects to the next level. Whether you’re working on Photoshop noodles white removal, learning Photoshop Nui Copy, or perfecting Photoshop background removal, mastering these techniques will allow you to create professional, polished images with ease.
With a bit of practice, you’ll be able to remove backgrounds, clone elements seamlessly, and remove distracting white areas from your photos in no time. Remember, Photoshop’s flexibility and depth mean there’s always something new to learn. Keep experimenting, and you’ll continue to unlock new possibilities for your creative work.
“Creativity is allowing yourself to make mistakes. Art is knowing which ones to keep.” – Scott Adams