Creating a wallet is a simple, yet rewarding craft project that elementary school students will love. Whether they’re making one for themselves or as a gift, crafting a wallet helps improve motor skills, creativity, and practical knowledge. In this guide, we’ll walk you through the steps and tips on making elementary school wallets that are not only functional but fun to design as well.
Looking for a fun, hands-on project for elementary students? Learn how to make an easy and stylish wallet using simple materials. Perfect for hands-on learning!
Recommended for Elementary School Students: Crafting a DIY Wallet
Making wallets for elementary students is an excellent way to introduce them to basic crafting skills while also encouraging them to create something practical and unique. Whether it’s a simple fabric wallet or a personalized design, the process is perfect for children who enjoy hands-on activities. You can use various materials such as fabric, felt, or even old jeans, giving students the freedom to explore textures and colors.
Why Crafting is a Great Activity for Kids
Crafting helps children improve concentration, patience, and fine motor skills. While making a wallet, they learn about measuring, cutting, sewing, and assembling pieces together—skills that are not only useful for this project but can be applied to other crafts as well.
Incorporating a wallet-making activity into the classroom can be a great way to teach children about simple sewing, how to work with different materials, and how to follow instructions. It also provides an opportunity to instill creativity, as students can choose the fabric, colors, and decorations they want to add to their wallet.
Materials Needed
-
Fabric (felt, cotton, or denim)
-
Scissors
-
Needle and thread (or a glue gun for younger students)
-
Buttons or Velcro for closures
-
Keyring (optional)
-
Ruler or measuring tape
-
Pencil for marking fabric
Once students gather their materials, they’re ready to begin crafting! This hands-on project also gives them the opportunity to be independent and feel proud of what they’ve created.
Step-by-Step Guide to Making a Simple Wallet
-
Choose the Material Start by picking out a soft fabric or felt in a pattern or color the student enjoys. They can go for polka dots, stripes, or solid colors—whatever feels right for their wallet.
-
Cut the Fabric Measure and cut out two pieces of fabric, each measuring about 8×6 inches, for the main body of the wallet.
-
Assemble the Wallet Fold the pieces into thirds to form the wallet shape. One third will fold over to create the flap of the wallet, while the other two-thirds will serve as the compartments for storing items.
-
Sew or Glue the Edges If sewing, students should stitch along the edges to hold the wallet together. If gluing, be sure to press firmly until the glue dries.
-
Add a Closure Attach a button or Velcro on the flap to keep the wallet closed. A small button in a contrasting color adds a stylish touch!
-
Optional Keyring If desired, add a keyring to the corner of the wallet, which will make it easy for kids to attach it to their backpacks.
Ready to start making wallets? You can create a variety of designs that will inspire your students!
👉 Learn More About DIY Wallets 👈
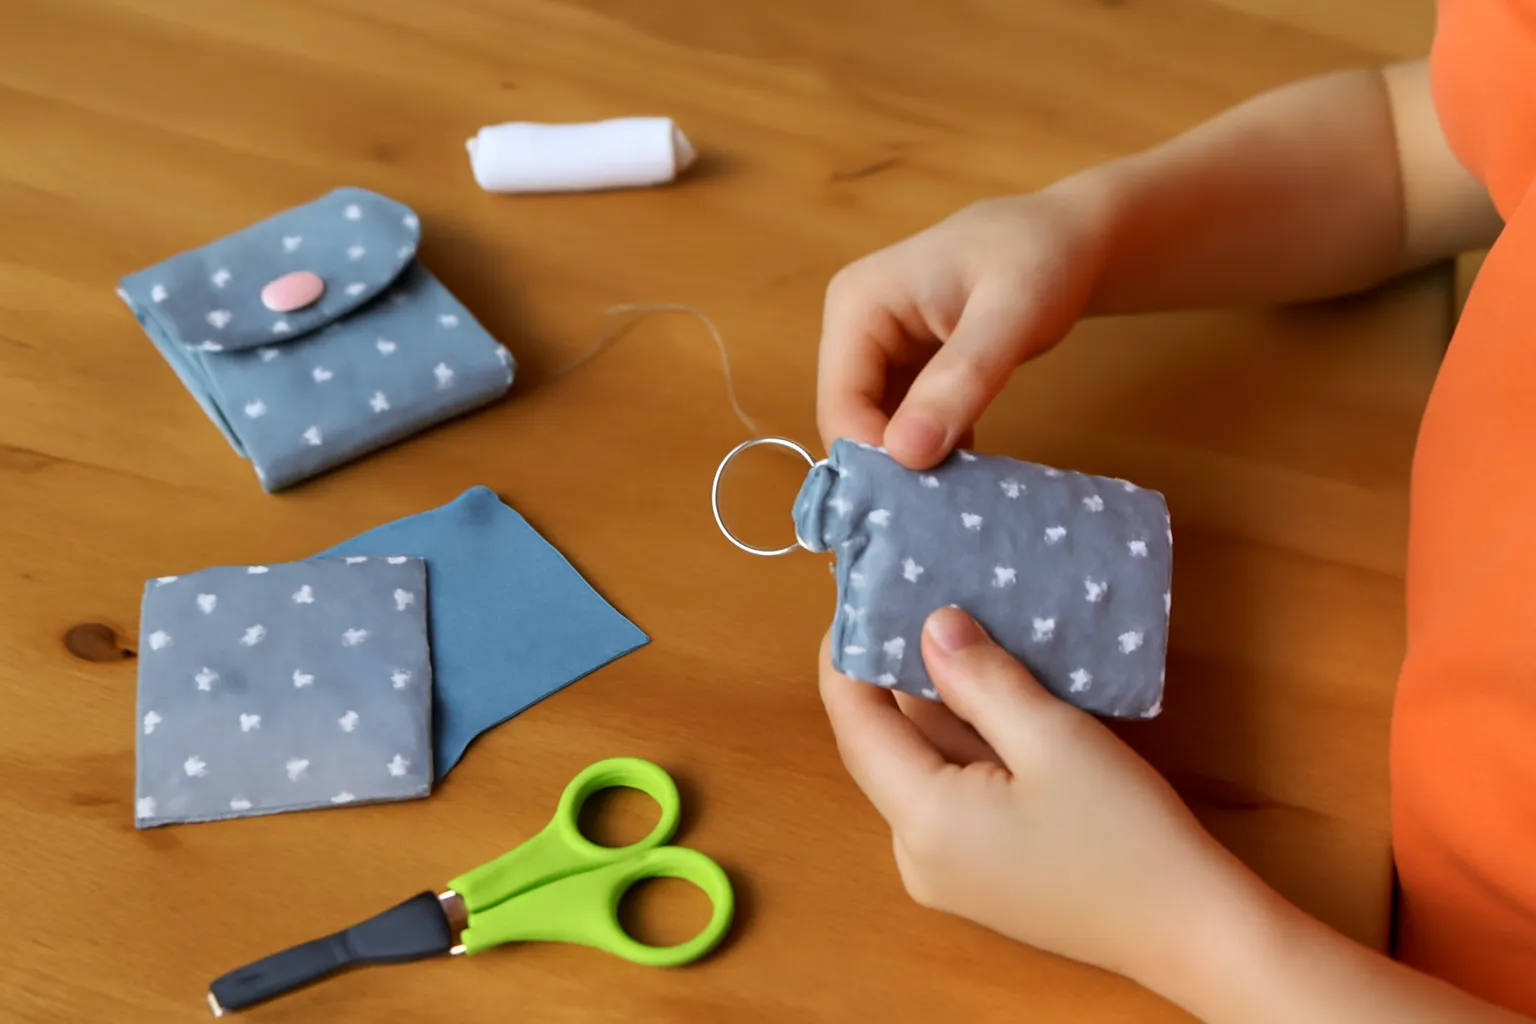
Elementary Student Ring Wallet: Adding Fun Accessories
One of the most exciting parts of making a wallet is the ability to personalize it. An elementary student ring wallet is a great addition to this activity, as it incorporates both function and style.
What Is an Elementary Student Ring Wallet?
A ring wallet is a small, portable wallet that includes a metal keyring or loop. It’s the perfect size for holding small items like coins, receipts, or even a bus pass. By adding a keyring, students can easily attach their wallet to their backpack, making it both practical and fun.
How to Make a Simple Ring Wallet
-
Create the Base Start with the same basic steps as above, but this time, add a small fabric loop to the top of the wallet.
-
Attach the Ring Insert a metal keyring through the loop and sew or glue it in place.
-
Personalize Decorate with stickers, patches, or fabric paint to make the wallet truly unique.
-
Test the Functionality Ensure the keyring works by attaching it to a backpack or keychain.
This addition is a fantastic way to ensure that the wallet doesn’t get lost and gives students the chance to make something both functional and fashionable.
👉 Get Creative with Wallet Keyrings 👈
Elementary School Wallet: The Perfect Keepsake for Your Child
Creating an elementary school wallet is not just about the process; it’s about making something that holds meaning for the child. This wallet can serve as a memento of their crafting experience and can be used in their everyday life, whether it’s for holding small amounts of money or as a place to store tiny treasures.
Benefits of a Customized Wallet
-
Teaches Practical Skills Kids can use their wallets for various purposes, such as holding allowances, notes, or even little trinkets.
-
Promotes Creativity Through fabric choices, colors, and decorations, children get to showcase their personalities.
-
Gives Confidence The pride that comes from making something themselves is invaluable. It boosts self-esteem and gives them a sense of accomplishment.
As a bonus, these wallets make great gifts! If your child enjoys the project, they can create extra wallets for family and friends. These handcrafted wallets are not only practical but also filled with love and creativity.
👉 Discover More Wallet-Making Ideas 👈
Conclusion
Making wallets with elementary students is an incredibly rewarding experience. From choosing fabrics and cutting patterns to stitching and adding fun details, the project offers a wonderful blend of creativity, learning, and hands-on activity. It’s not only a fun craft but also a useful skill that will help children gain confidence in their abilities. By guiding them through the process, you’re giving them the tools to create something that is truly theirs.
So, grab your materials, gather the kids, and let them get crafting!