Are you moving and need to transfer your city gas service? Wondering how to apply for city gas in your new home or where to settle your gas account? Find all the answers and more in this comprehensive guide.
City gas is a vital part of modern living, powering our kitchens, water heaters, and even central heating systems. However, when it comes time to move, understanding the process of transferring or applying for city gas can be daunting. This article will provide valuable insights into the various aspects of city gas, from moving to settling your account, and how to navigate the process smoothly.
What is City Gas and How Does it Work?
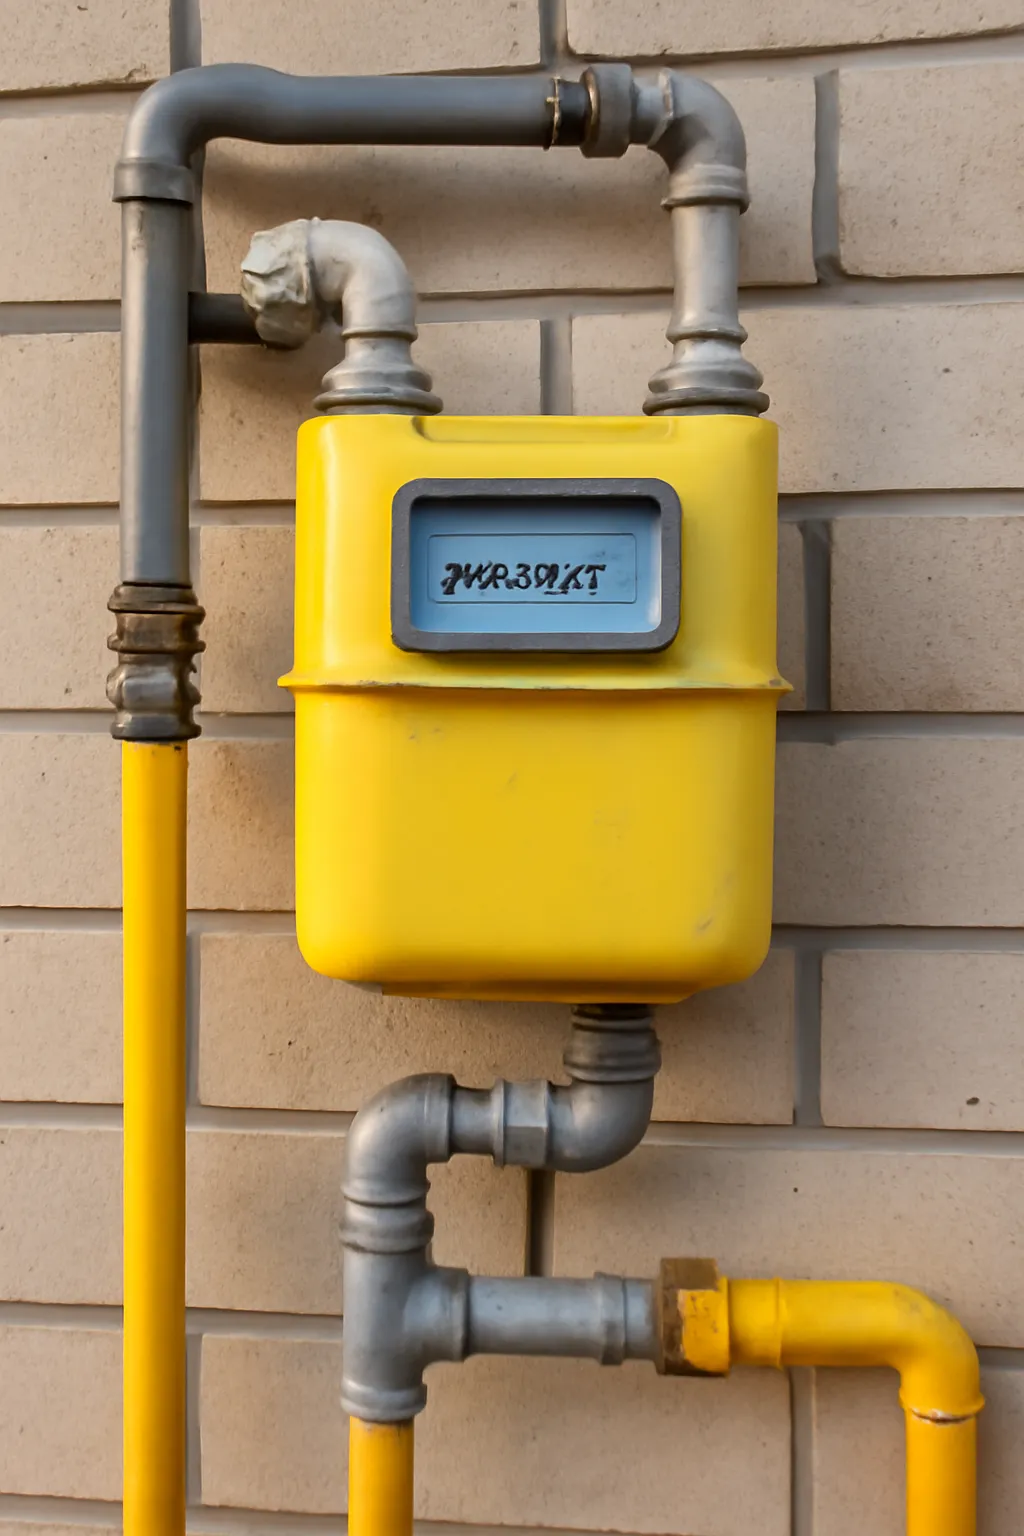
City gas, also known as municipal gas or natural gas, is the primary fuel source for homes and businesses in urban areas. Delivered via an extensive network of pipes, it is a reliable and efficient energy source that powers everything from stoves and ovens to water heaters and heating systems. City gas is often supplied by regional gas companies, such as Isasashi or Samchully, depending on your location.
For those moving, transferring or setting up city gas services is an essential task that must be taken care of before you settle into your new home. Let’s explore the steps involved in transferring your city gas service to a new address and what you should know about setting it up when moving.
Transferring City Gas Services: What You Need to Know
How to Apply for Moving City Gas
One of the first steps when relocating is ensuring that your gas service is transferred to your new address. Most gas companies allow for the easy transfer of service, which can typically be done online, over the phone, or in person at a customer service center. Here are the key steps to take:
-
Contact the Gas Provider Reach out to the local gas company, such as the Seoul City Gas Director, and inform them of your move. You’ll need to provide details about your current and new address.
-
Schedule the Transfer City gas companies typically allow you to schedule a transfer ahead of time. It’s recommended to request the transfer at least one week before your move to avoid delays.
-
Provide Required Information Have your account number, identification, and address details on hand when applying for the transfer. This information ensures a smooth transfer of services.
The city gas moving cost can vary depending on the provider and region. It’s a good idea to inquire about any applicable fees when making your request. Most companies charge a nominal fee for transferring the service, but additional charges may apply based on the distance or complexity of the installation.
Example Case:
When I moved to a new apartment last year, I used the Seoul City Gas service, which allowed me to complete the transfer request online. The process was seamless, and the technician arrived promptly to activate the service at my new home.
City Gas Service Demolition During Moving
If you’re moving out of an apartment or house and no longer need the gas service, the gas company will also handle the city gas demolition process. This involves deactivating the gas service and removing the gas meter from your former residence.
-
Schedule the Demolition You’ll need to inform the gas company at least one day before you move out so they can schedule the removal of your gas meter.
-
Final Gas Reading The technician will take a final reading of the meter to ensure you’re not overcharged for any usage before you leave.
-
Close the Account After the gas is turned off, the provider will finalize the settlement of your account.
This process can take place on the same day as your move or earlier, depending on the company’s availability.
Managing Your City Gas Service After Moving
Setting Up City Gas in Your New Home
Once you’ve arrived at your new residence, setting up your city gas service is the next step. Depending on the gas company and the region, the procedure may differ, but generally, these steps apply:
-
Check Existing Service If the property already has city gas installed, you may only need to call the gas provider to activate the service.
-
Install New Meter if Necessary If there’s no existing meter, the provider will send a technician to install one and connect the service. This is typically done within a few days of your request.
-
Meter Reading Once the service is activated, the technician will take an initial reading of the gas meter.
In some cases, like with apartment moving city gas, the process might be more streamlined if the building already has an active gas line. Always check with the gas provider for any special procedures that may apply to your specific situation.
City Gas Customer Service Centers
If you run into any issues or have questions, don’t hesitate to reach out to the City Gas Customer Center. These centers are equipped to handle various inquiries, from service transfers to billing concerns. You can find contact details for your local gas provider on their website or by visiting a nearby office. Many providers also offer 24/7 customer service, ensuring you can get help when needed.
Pro Tip: For faster service, consider using the mobile app or online portals that many gas companies offer. These tools can help you track service status, pay bills, and apply for transfers without needing to visit in person.
Conclusion
City gas is a crucial service for any home, and ensuring a smooth transfer or setup during a move is essential for your comfort and convenience. By following the proper steps—contacting the gas provider, scheduling transfers, and settling your account—you can ensure that your gas service is activated or deactivated without any issues. Always keep in mind the specific procedures of your local gas provider, whether it’s Seoul City Gas, Isasashi, or Samchully, to ensure the process goes as smoothly as possible.
Remember: whether it’s a city gas moving weekend, moving city gas demolition, or applying for city gas after moving, taking the time to handle these details early will save you stress later.