In the world of digital editing, Photoshop stands out as one of the most powerful tools available for photographers, designers, and graphic artists. Among the many techniques that Photoshop offers, black and white conversions play a significant role in enhancing images. Whether you’re working on a photograph, graphic design, or artwork, knowing how to efficiently transition to black and white is crucial. This article will guide you through the key Photoshop black and white shortcuts, focusing on conversion, reversal, and transition techniques to streamline your workflow.
Photoshop Black and White Conversion Shortcut
Converting an image from color to black and white in Photoshop can be done in several ways, but knowing the right shortcut can save you valuable time. One of the simplest and most effective shortcuts is the “Desaturate” option, but there are also more advanced methods that provide greater control over the final result.
1. Using the Desaturate Shortcut (Ctrl + Shift + U / Command + Shift + U)
This shortcut is the fastest way to remove the color from an image, leaving you with a grayscale version. It is perfect for quick edits when you don’t need to adjust the intensity of different colors in the image.
-
Quick Steps
-
Open the image you want to convert.
-
Press Ctrl + Shift + U (Windows) or Command + Shift + U (Mac).
-
The image instantly converts to grayscale.
-
While this method is quick and efficient, it may not always give the best results, as it simply removes the color information from the image without allowing any fine-tuning.
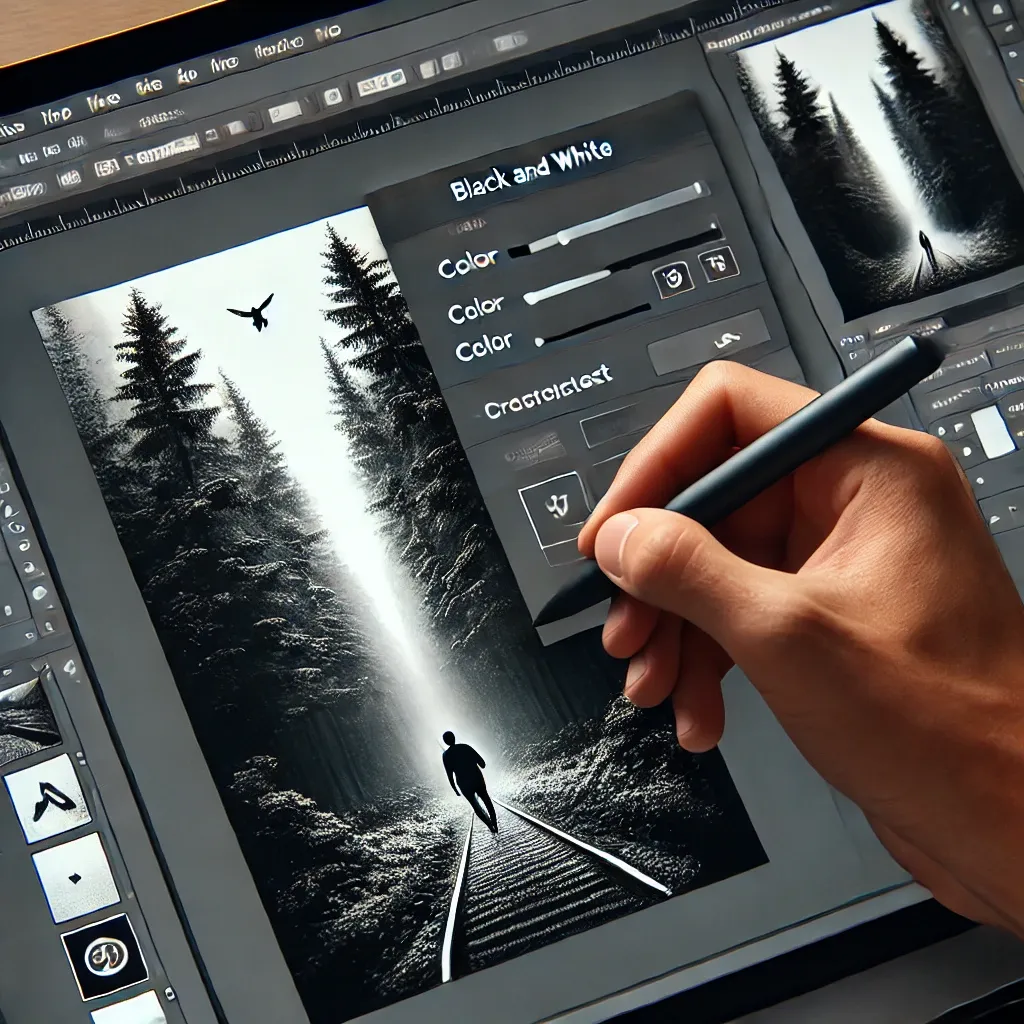
2. Using the Black & White Adjustment Layer
If you want more control over the conversion process, Photoshop provides an excellent tool called the Black & White adjustment layer. This allows you to adjust individual color channels to control how the grayscale version of the image will look.
-
Quick Steps
-
Open your image in Photoshop.
-
Click on the Adjustment Layer icon at the bottom of the Layers panel (next to the trash can).
-
Select Black & White from the list.
-
Adjust the sliders for individual color channels (reds, yellows, greens, etc.) to control how they are converted to grayscale.
-
This method provides much more flexibility, letting you manipulate how light or dark each color becomes in the black and white version of the image.
🔍 Learn More about Black and White Conversion in Photoshop
Photoshop Black and White Reversal Shortcut
Sometimes, after converting an image to black and white, you may want to reverse the process and restore the original colors. Photoshop makes this process simple, and there are a few ways to reverse or even reapply the color effect in your edits.
1. Reverting to the Original Colors (Ctrl + Z / Command + Z)
The most straightforward method to reverse a black and white conversion is by using the undo shortcut. If you haven’t performed other actions in Photoshop since converting the image, you can quickly undo the desaturation by pressing Ctrl + Z (Windows) or Command + Z (Mac).
-
Quick Steps
-
Press Ctrl + Z (Windows) or Command + Z (Mac).
-
The last action (black and white conversion) will be undone, restoring the original colors.
-
However, if you’ve done more work since the conversion, this method might not be the best.
2. Using the History Panel for Reversal
If the image has undergone numerous edits since you first converted it to black and white, the History panel is an excellent way to jump back to the original version of the image or to any other point before the desaturation was applied.
-
Quick Steps
-
Open the History Panel by going to Window > History.
-
Scroll through the history states and click on the point where the image was still in color.
-
This reverts your image back to its pre-conversion state.
-
This approach provides more flexibility, especially for complex projects.
🔍 Learn More about Reversing Black and White Edits
Photoshop Black and White Transition
Transitioning an image smoothly from color to black and white in Photoshop doesn’t have to be a complicated process. With a little planning and the right techniques, you can create stunning results that look natural and professional.
1. Gradient Map for a Smooth Transition
One of the most advanced ways to transition between color and black and white is by using a gradient map. A gradient map allows you to blend color tones with grayscale values, providing a smooth and customizable transition.
-
Quick Steps
-
Open your image in Photoshop.
-
Go to the Layer menu, then select New Adjustment Layer > Gradient Map.
-
Choose the gradient that best fits the desired transition.
-
Adjust the gradient’s settings to control how the image transitions from color to black and white.
-
The gradient map is a powerful tool for creating subtle transitions between color and grayscale, allowing you to experiment with various effects.
2. Using Layer Masks for Gradual Transitions
If you’re aiming for a more controlled and gradual transition, layer masks combined with a black and white adjustment layer can create stunning effects. This method is ideal for situations where only parts of the image need to transition to black and white, while others retain their color.
-
Quick Steps
-
Create a Black & White Adjustment Layer as described earlier.
-
Add a Layer Mask to the adjustment layer.
-
Use the gradient tool or paint with black and white on the layer mask to gradually reveal or hide the black and white effect.
-
This technique is highly customizable, giving you complete control over the transition.
🔍 Learn More about Smooth Black and White Transitions
Conclusion
Mastering the Photoshop black and white conversion shortcut, reversal shortcut, and smooth transition techniques can significantly enhance your editing skills. Whether you prefer quick fixes like the Ctrl + Shift + U desaturation shortcut or more advanced methods like the Black & White Adjustment Layer, Photoshop gives you the flexibility to achieve stunning black and white images. And with the ability to reverse or transition between color and black and white, your workflow becomes more efficient, allowing you to focus on the creative aspects of your project.
As you experiment with these shortcuts and techniques, you’ll develop a better understanding of how to manipulate images in Photoshop. Whether you’re a beginner or an experienced user, mastering these essential tools will elevate your editing capabilities to new heights.