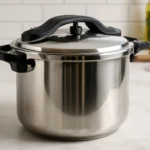
Pressure cookers are indispensable in many kitchens, making cooking faster and more convenient. One essential aspect of maintaining a pressure cooker is the pressure cooker packing, often in the form of gaskets, seals, or packing material. These are crucial to ensuring that the pressure cooker functions safely and efficiently. In this article, we’ll dive into the importance of pressure cooker packing, how to attach it, and when to replace it. Specifically, we will focus on the 22cm size, which is a common choice for many households.
Are you looking for tips on how to replace or attach pressure cooker packing? Explore essential information on pressure cooker packing, pressure pot packing, and how to ensure the best results with a 22cm model. Find out why proper packing matters for your safety and cooking efficiency!
Pressure Packing: Why It Matters for Your Cooker
Pressure packing is the critical sealing material used in pressure cookers to create an airtight and secure seal. This ensures that the cooker can build up the necessary pressure to cook food quickly while maintaining safety. The gasket, typically made of silicone or rubber, fits into the lid of the cooker and keeps steam from escaping. Without proper packing, your pressure cooker would not function correctly, and you might face safety hazards.
When it comes to 22cm pressure cookers, the packing needs to fit precisely to maintain the cooker’s efficiency. The size of the packing is critical to ensure that there is no leakage of steam, which would render the cooker inefficient or unsafe. A well-maintained packing system also prevents food odors from escaping, keeping your kitchen odor-free.
A faulty or worn-out packing can cause steam to leak, resulting in insufficient pressure for cooking and even potentially dangerous situations. Regular maintenance of your pressure cooker’s packing ensures it stays in optimal working condition.
How To Maintain Pressure Packing
-
Regular inspection Check the packing for cracks, tears, or any signs of wear.
-
Clean thoroughly After every use, clean the packing to remove food particles or oils that might degrade it over time.
-
Keep it lubricated Some pressure cooker packs benefit from occasional lubrication to maintain flexibility.
-
Replace if necessary If the packing is showing signs of damage or deterioration, it’s time to replace it.
👉 Explore more on Pressure Packing maintenance 👈
Pressure Pot Packing: Understanding the Essential Part of Your Cooker
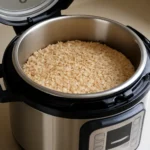
Pressure pot packing refers to the sealing material that ensures your pressure pot functions as it should. This packing helps to maintain the necessary internal pressure by preventing the escape of steam. For a 22cm pressure pot, the packing needs to fit snugly around the lid, ensuring that all pressure is maintained throughout the cooking process. Any gap can result in the failure of the cooker to reach the required pressure, affecting cooking times and overall performance.
Proper packing can significantly enhance the cooking process, making it more energy-efficient and faster. Pressure pot packing also plays a role in safety, as it prevents any dangerous steam leaks that could result in accidents.
The most common types of pressure pot packing materials include:
-
Silicone gaskets Durable and heat-resistant, making them a top choice for modern pressure cookers.
-
Rubber rings Traditional but effective, though they require more frequent replacement.
-
Metal rings Often used in high-end or industrial-grade pressure cookers.
How to Attach Pressure Pot Packing
-
Remove the old packing Carefully take out the old packing material from the cooker lid.
-
Clean the area Ensure the lid and packing area are free of food remnants or grime.
-
Insert the new packing Fit the new packing snugly into the groove of the lid.
-
Check the seal Close the lid and check for any gaps or misalignments in the seal.
👉 Learn more on how to attach pressure pot packing 👈
How to Attach Pressure Packing: A Step-by-Step Guide
Attaching pressure packing correctly is essential for your cooker’s safety and efficiency. Here’s a simple guide on how to attach pressure packing to your 22cm pressure cooker:
-
Choose the Right Packing Size Make sure the packing you use is the correct size for your cooker. In this case, it’s a 22cm packing. Using the wrong size can lead to improper sealing.
-
Prepare the Lid Before you begin, ensure the lid of your pressure cooker is clean. Use a damp cloth to wipe away any dirt or food particles from the lid’s edge.
-
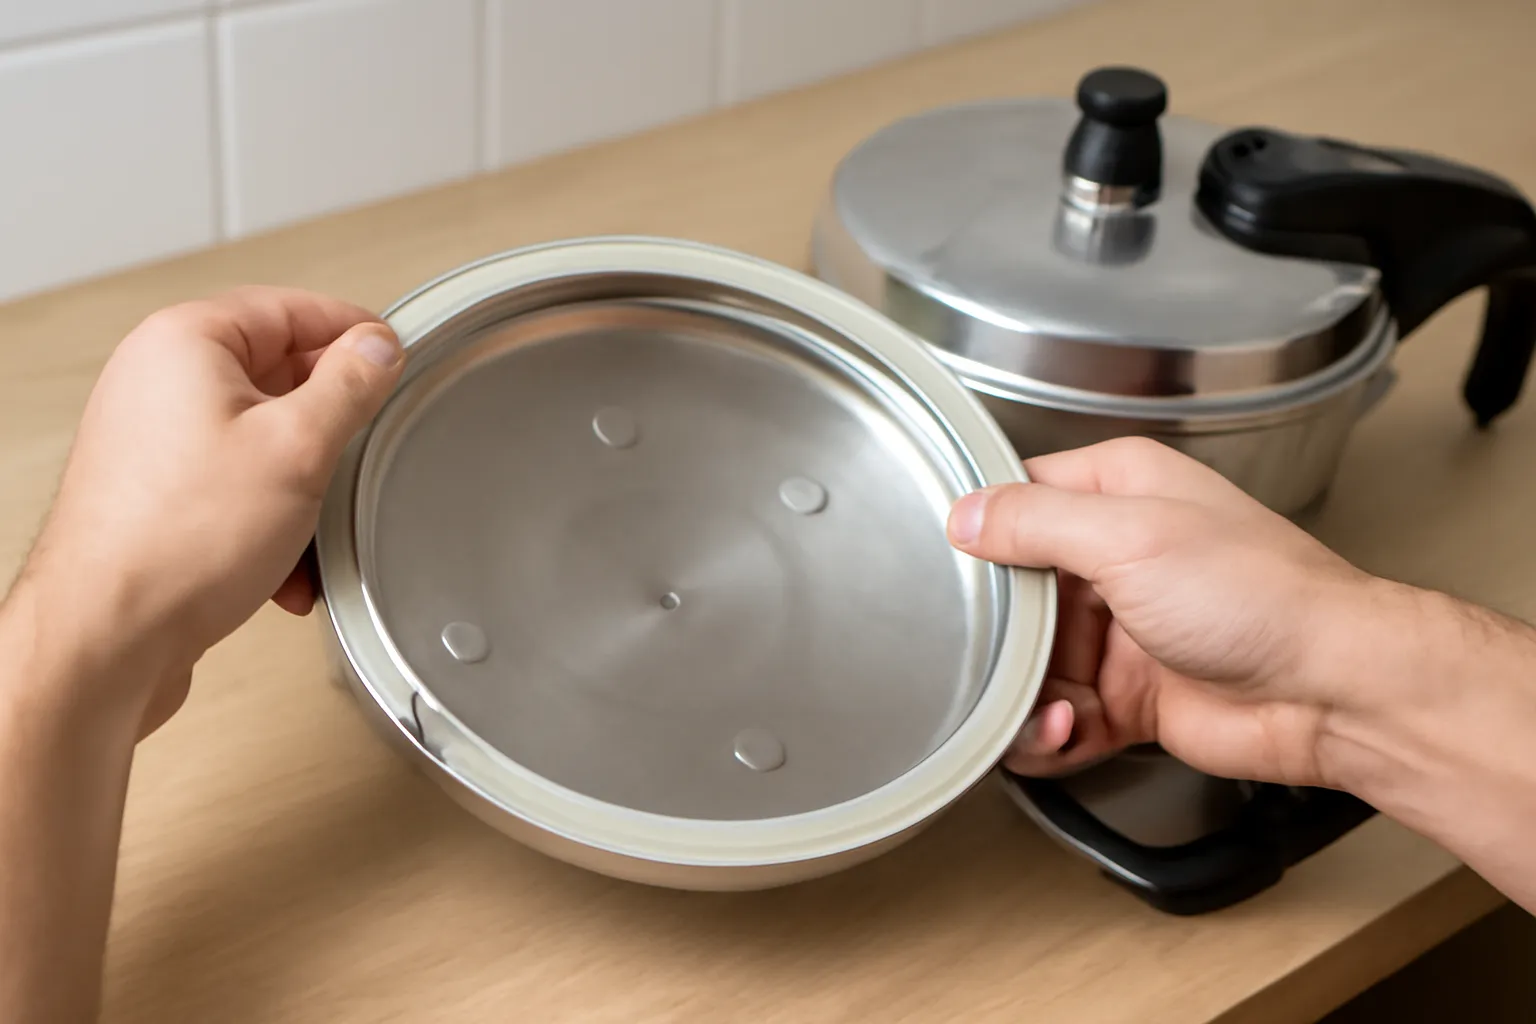
Install the Silicone Gasket Take the silicone gasket and press it firmly into the groove of the lid. Ensure there is no twisting or misalignment. The gasket should fit securely, with no gaps.
-
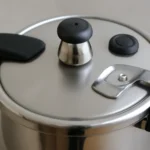
Check the Pressure Regulator The pressure regulator on your cooker plays an essential role in maintaining the correct pressure. Ensure that it is fitted correctly and that there are no blockages.
-
Test the Cooker Before using it for cooking, perform a test run with water to ensure that the cooker seals properly and holds pressure. If you notice steam escaping, it’s likely the packing isn’t properly installed.
Common Mistakes to Avoid
-
Improper Size Always ensure you are using the correct size packing for your model.
-
Forcing the Packing Gently press the packing into place rather than forcing it, as this can cause damage.
-
Neglecting Regular Maintenance Regular inspection and cleaning can extend the life of your pressure cooker packing.
👉 Get step-by-step guide for pressure packing installation 👈
Pressure Cooker Packing Replacement: When and How to Do It
Eventually, all pressure cooker packing materials wear out. The frequency of replacement depends on how often you use your cooker, but generally, it’s a good idea to inspect the packing every six months. Replacing the packing ensures that your cooker operates at peak performance, avoiding any leaks or pressure failures.
Signs That Your Packing Needs Replacement
-
Visible Cracks or Tears If you notice any visible damage to the packing, it’s time to replace it.
-
Difficulty Sealing If your cooker fails to seal properly or there is steam leaking from the lid, the packing is likely worn out.
-
Burnt Smell A burnt odor while cooking may indicate that the packing material has degraded.
How to Replace the Packing
-
Remove the Old Packing Carefully remove the old gasket from the lid, using a soft tool to avoid damaging the cooker.
-
Clean the Lid and Groove Thoroughly clean the area where the packing fits to ensure the new gasket fits perfectly.
-
Insert the New Packing Place the new packing into the groove, ensuring it fits snugly and evenly.
-
Check the Pressure Cooker for Leaks Once replaced, check the cooker for any signs of leaking before using it for cooking.
How Often Should You Replace Packing?
It depends on usage, but a good rule of thumb is to replace the packing every one to two years or when you notice any of the signs mentioned above.
👉 Learn when to replace your pressure cooker packing 👈
Conclusion
Understanding pressure cooker packing and maintaining it correctly is vital for the safety and efficiency of your cooking. Whether you’re replacing a worn gasket or attaching a new one, knowing the steps and signs of damage will ensure your pressure cooker remains in top condition. A well-maintained packing system contributes not only to safety but also to more efficient cooking, helping you get the most out of your pressure cooker.